How to setup a Mac to begin developing Ruby on Rails Web Applications

[Last updated: Sept 20, 2018]
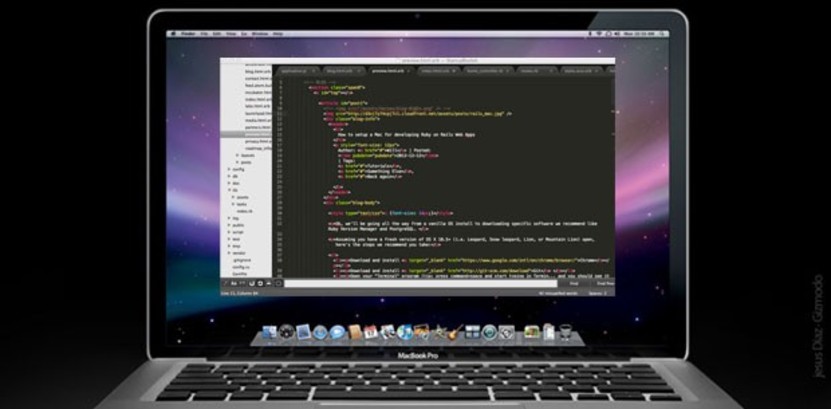
Ok, we'll be going all the way from a vanilla OS install to downloading specific software we recommend, including Ruby Version Manager and PostgreSQL.
[Author's note: I wrote the first couple dozen tutorials in this series a few years ago and I'm in the process of updating the content to reflect the evolution of best practices in the industry. Please comment if you see anything I missed that should be updated. Thanks!]
Assuming you have a reasonably new version of OS X installed, here's the steps I recommend you take:
(1) Go get the xCode install going, which takes a long time depending on your connection speed.
(2) Download and install Chrome
(3) Download and install Git
(4) Open your “Terminal” program (tip: press command+space and start typing in Terminal… and you should see it), and install a package manager called Homebrew — the process is a quick 1-line copy-&-paste-into-your-terminal kind of thing. Follow the instructions to install…it should be something like
You can run this line from any directory and it will work.
(5) Once brew is installed it makes our life easier. All we need to do is type in simple “brew install X” commands from terminal. Go ahead and
brew install postgres
to install our database software.
Make sure to follow the directions it tells you after it finishes installing, including starting the server. It will have you copy & paste in 4 lines or so into terminal to finish the install.
(6) For recent OS versions (Lion and above), you'll also need to archive the postgres pre-installed on your system. Enter this line in your terminal and press enter:
This is needed in order to get Brew's install of PostgreSQL to work properly (saves you hours of headache).
(7) Visit Ruby Version Manager and follow their instructions for installing “RVM stable with Ruby”. This will take a little while to install, and you may need to follow instructions it will give you, depending on your system configuration. For example, if you haven't installed “gpg” yet, you should first:
brew install gpg
(8) Next, in Terminal type in
vi ~/.bash_profile
…. then press i to enter insert mode, then copy in the following two lines, replacing USERNAME with your mac username (this first line should actually already be in there for you):
Then press escape then :wq then enter. (Congratulations, BTW, you just started learning how to use vi editor. This little bash profile magic helps you see which version of Ruby you are currently working with.)
(9) Assuming you don't already have ruby installed, open a fresh Terminal session and type in
rvm install 2.4.3
…which takes awhile (check here to see if there is a more recent stable version) — then enter:
rvm --default use 2.4.3
…to make this version default. (You may get a prompt that you have to install with “sudo” or “rvmsudo” prepended to the command.)
(10) Next, update RubyGems with
gem update --system
and install a gem called Bundler via
gem install bundler
(11) Also, you'll need to fix up some socket connection issues that often come up on Mac. Enter in your terminal one line at a time:
sudo mkdir /var/pgsql_socket
sudo chown $USER /var/pgsql_socket
vi /usr/local/var/postgres/postgresql.conf
… and then you need to enter i like you did above to enter insert mode, then go to the following line (and make it read):
unix_socket_directories = '/tmp, /var/pgsql_socket'
… and then, after pressing escape to leave insert mode, type in :wq and then press enter to save and quit vi (thanks to Andrey for this tip).
FYI, you'll probably need to symlink your socket like this to get things working (and some users report having to do this every time the OS is updated):
ln -s /var/pgsql_socket/.s.PGSQL.5432 /tmp/.s.PGSQL.5432
test that you are good to go by typing:
psql -d template1
....in response you should see "psql (x.x.x)" and "Type "help" for help." and "template1=#".
If you see this then things are working for you. Enter \q to get out of the psql session.
(12) Next, for everyone, finish your Xcode install from above, then
brew install redis
and
brew install memcached
and
brew install yarn
and
brew install node
and
brew install qt@5.5
… one at a time and make sure to follow the post-install instructions like you did with Postgres. QT may take a long time to install (and you may have to follow this to get capybara-webkit to install), just leave it going in the background and continue. We'll talk about these guys a bunch later, but you can look 'em up now if you're curious what they are.
(13) [Optional] Download and install VirtualBox, which you'll use to test your websites in Internet Explorer (to make sure they look OK).
(14) [Optional] Go grab Firefox and Opera as well for testing.
(15) Finish the xCode install that you got going earlier (be sure to also custom install command line tools).
(15) I recommend using Sublime Text or Textmate as your code editor. Grab Sublime Text if you don't have a preference.
(16) You'll want to
createuser -d SomeSuperUsername -s
…which creates a Postgres super user you can use for all your apps).
That's it! You are now ready to clone in a Git repository of Rails code (or start your own). I'll talk about what this means later if you're not sure what I just said.
- — -
Continue to the next post in this series: HTML Introduction
Startup Rocket
We help entrepreneurs ideate, validate, create, grow, and fund new ventures.
Based on decades of startup experience, our team has developed a comprehensive operations framework, a collaborative online tool, and a personalized coaching experience to help take your business to the next level.