A quick introduction to Cascading Style Sheets (CSS)

Continuing our series of introductory tutorials for building web and mobile applications, here we'll cover Cascading Style Sheets (CSS). CSS is intended to control the visual design of your markup (HTML) and respond to simple mouse events (e.g. hovering).
[Author's note: I wrote the first couple dozen tutorials in this series a few years ago and I'm in the process of updating the content to reflect the evolution of best practices in the industry. Please comment if you see anything I missed that should be updated. Thanks!]
While your markup declares parts of a document (e.g. header, footer, article, aside, etc.), your CSS actually controls the layout and overall design of it (e.g. background colors/images, sizes and locations of elements on the page, etc.).
Let's dive right in. While you *can* put tags directly in the head or body of a HTML document, most commonly (and for best practice) you find a line like this in the
section:This tells a browser to go fetch the /style.css file, that it's suitable for all media types (e.g. TV screens, projectors, printers, etc.), that it's a stylesheet, and that it's in the standard CSS format. Most browsers wait until this file is downloaded before displaying content on the screen — so it's a good idea to have this file compressed and readily available to make things as fast possible (we'll be digging into asset compression and Content Delivery Networks later in our series).
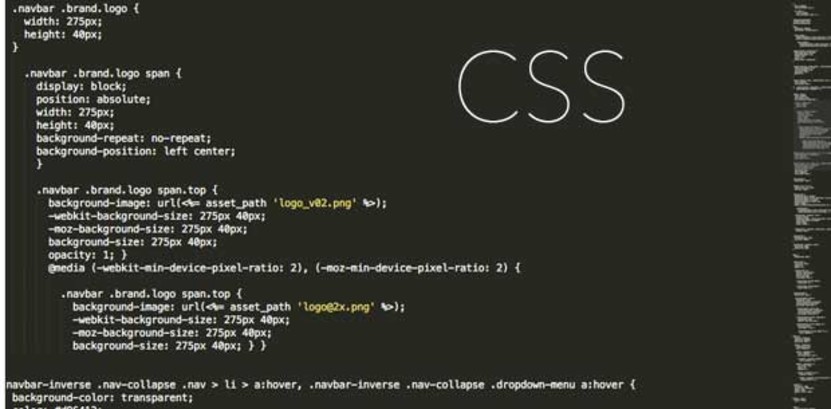
Ok, so inside the CSS file we can do things like this:
a {color: red}
#wrapper {width: 900px; margin: 0 auto;}
.dark a {color: black}
The first line makes all links red. The second line affects the element with id=”wrapper” and centers it on the browser screen, and the third line makes links within any element that has a class=”dark” (e.g.
The idea here is that CSS can be applied to either (1) all elements such as div or paragraph, (2) an element with a specific ID, and/or (3) elements with a given class name. You can use CSS to change an element's position, background properties, margins, internal padding, colors, etc…)
The BEST way to learn is to try it out. We will have plenty of examples as we go along here, but you can play around with it right now in your browser here.
- — -
Continue to the next post in this series: JavaScript Introduction — or go back to the HTML Introduction.
Startup Rocket
We help entrepreneurs ideate, validate, create, grow, and fund new ventures.
Based on decades of startup experience, our team has developed a comprehensive operations framework, a collaborative online tool, and a personalized coaching experience to help take your business to the next level.